The documentation you are viewing is for Dapr v0.11 which is an older version of Dapr. For up-to-date documentation, see the latest version.
Visual Studio Code integrations with Dapr
Extension
Dapr offers a preview Dapr Visual Studio Code extension for local development and debugging of your Dapr applications.
Feature overview
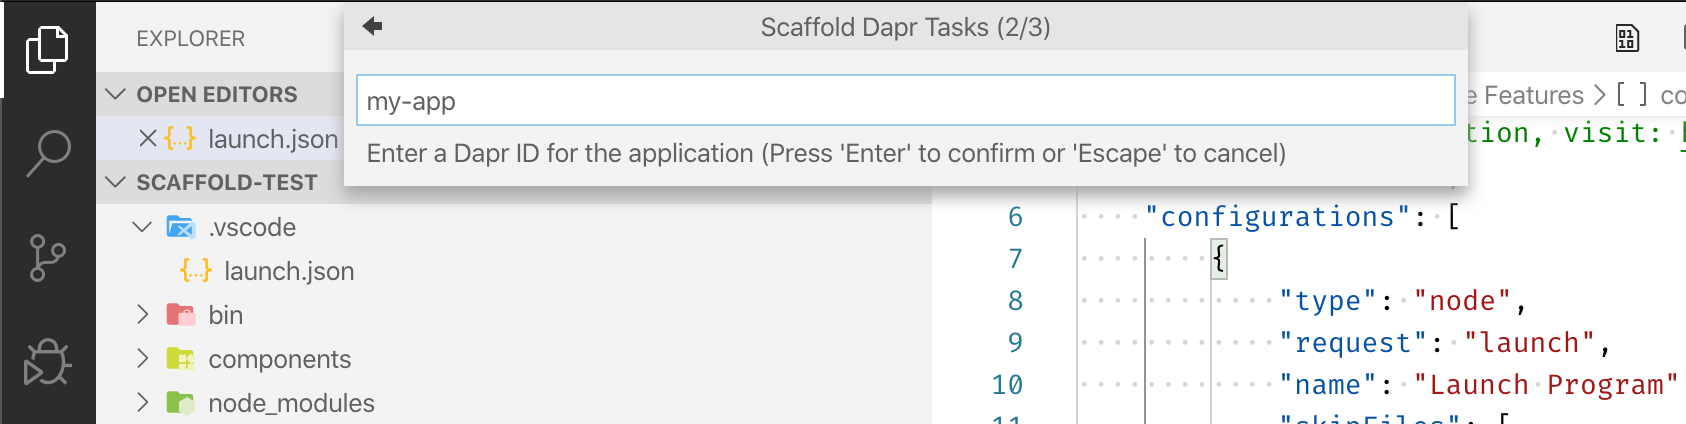
- Scaffold Dapr task, launch, and component assets
- View running Dapr applications
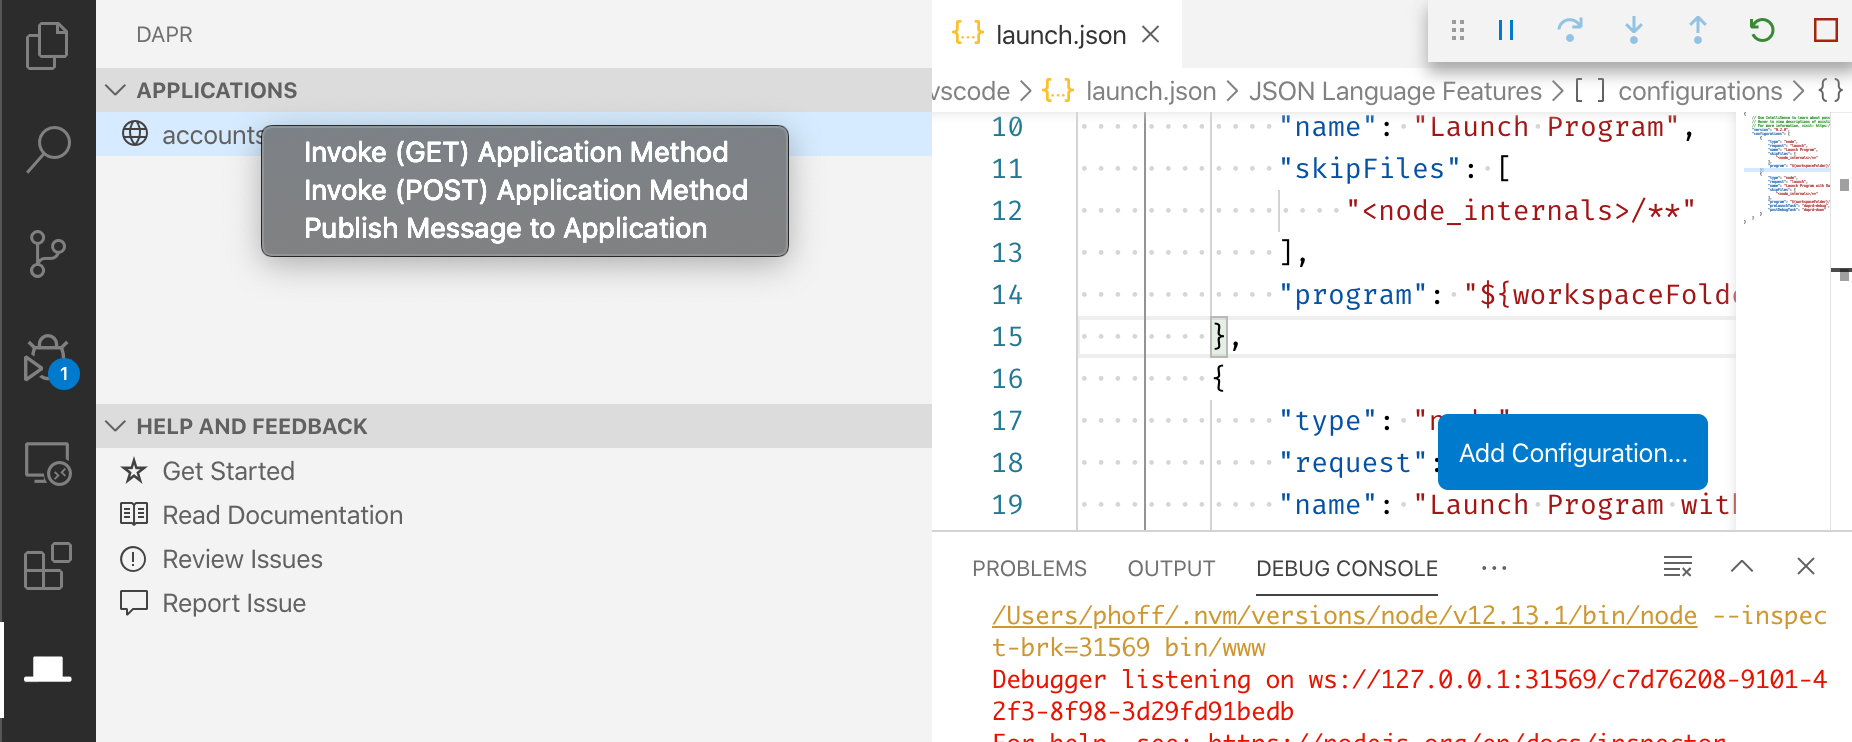
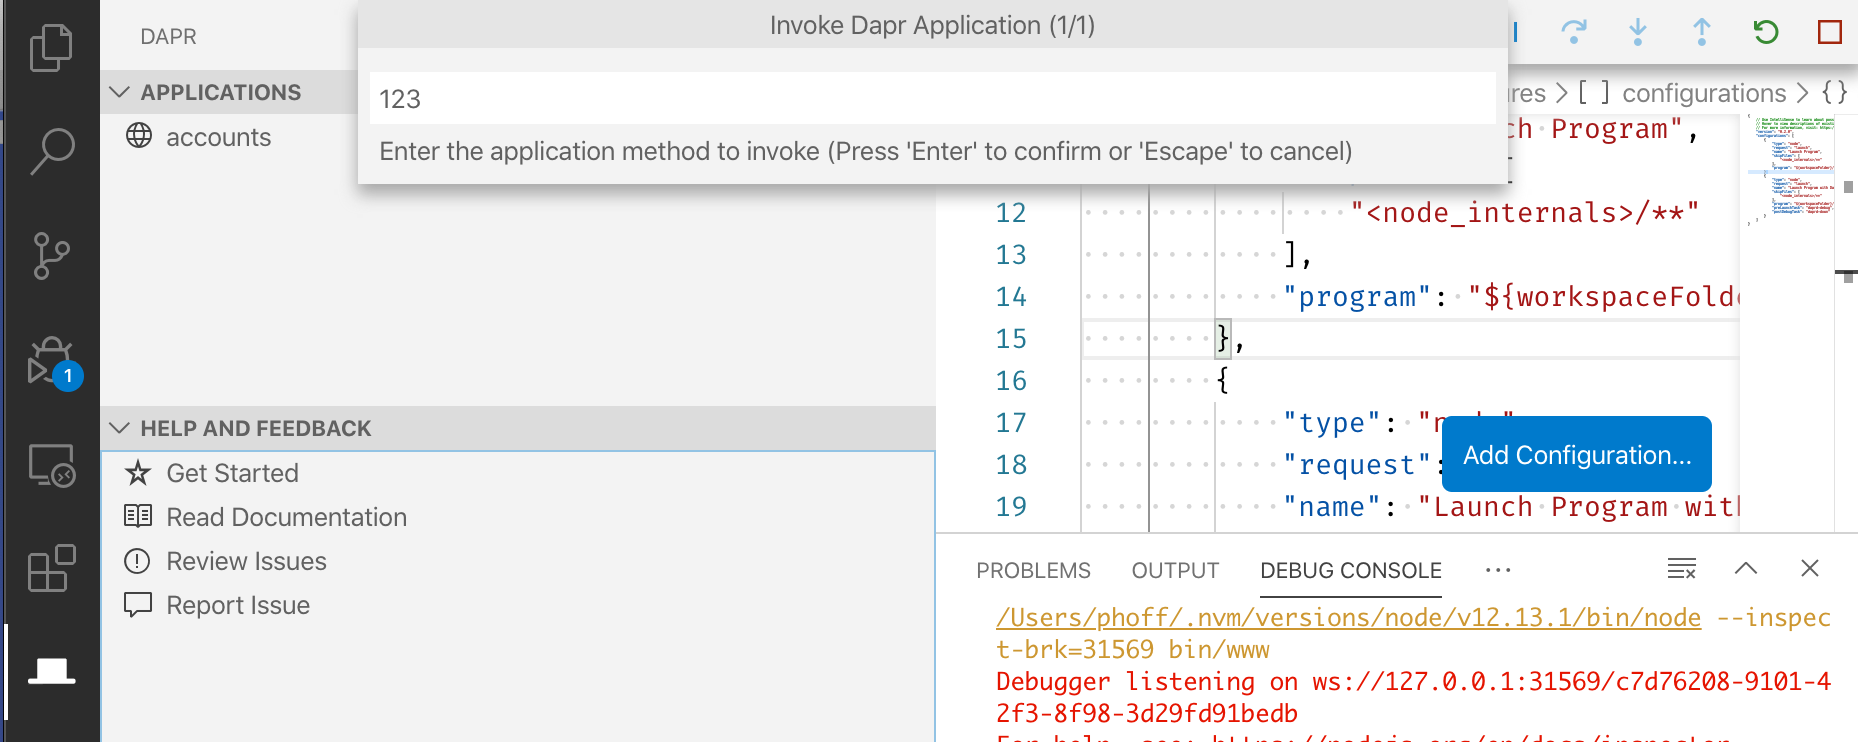
- Invoke Dapr application methods
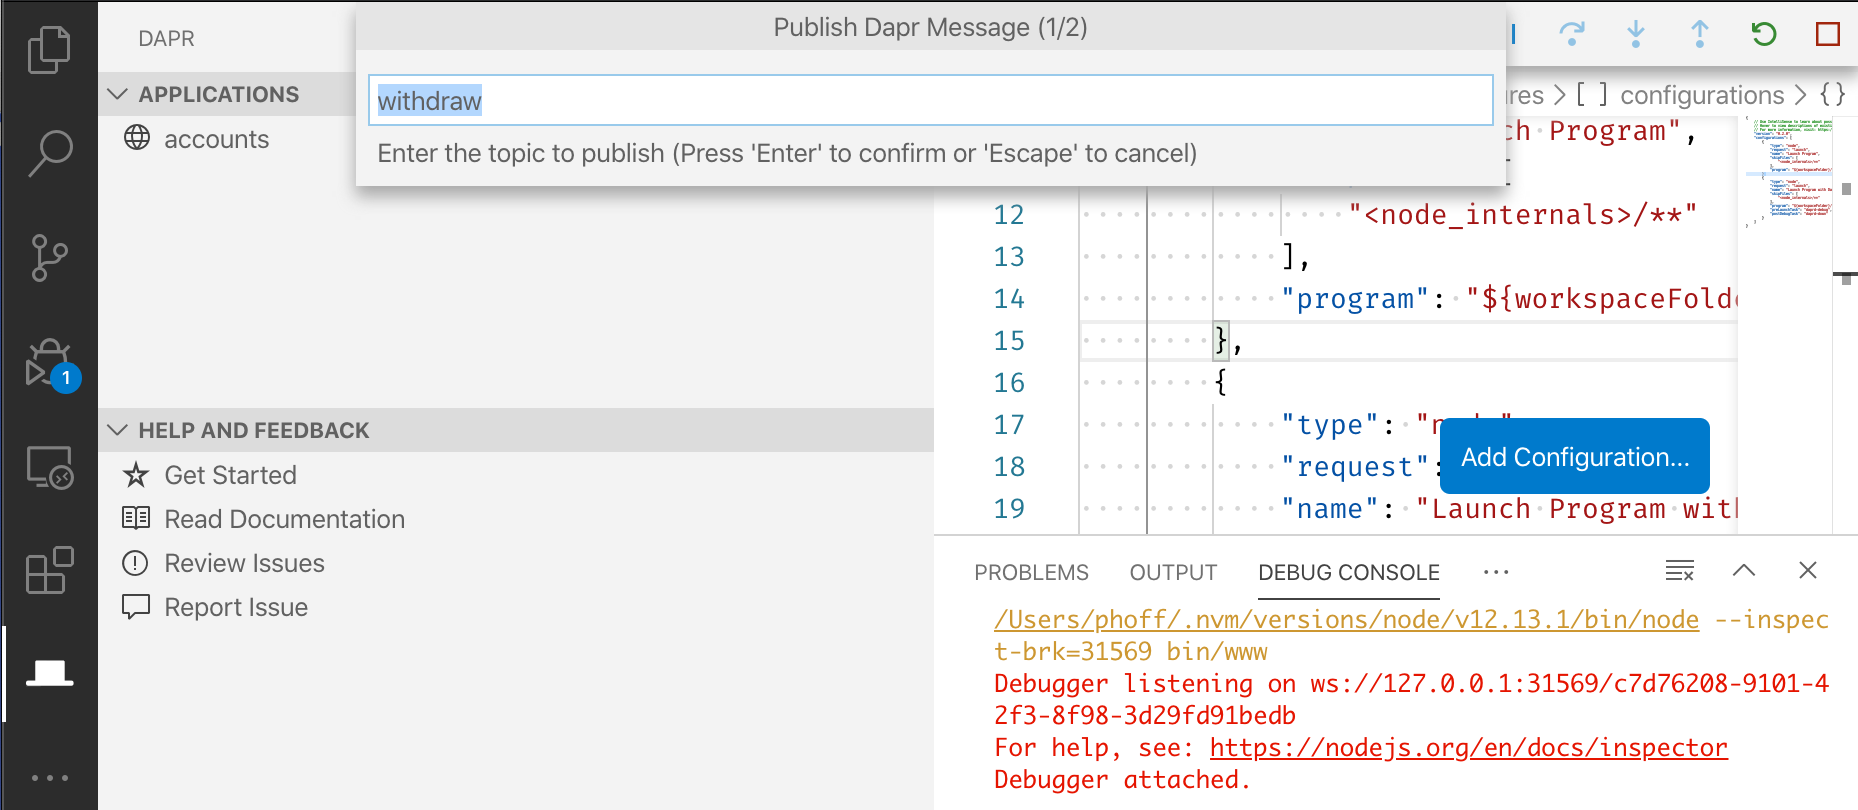
- Publish events to Dapr applications
Example
Watch this video on how to use the Dapr VS Code extension:
Remote Dev Containers
The Visual Studio Code Remote Containers extension lets you use a Docker container as a full-featured development environment enabling you to develop inside a container without installing any additional frameworks or packages to your local filesystem.
Dapr has pre-built Docker remote containers for each of the language SDKs. You can pick the one of your choice for a ready made environment. Note these pre-built containers automatically update to the latest Dapr release.
Setup a remote dev container
Prerequisites
Create remote Dapr container
- Open your application workspace in VS Code
- In the command command palette (ctrl+shift+p) type and select
Remote-Containers: Add Development Container Configuration Files...
- Type
daprto filter the list to available Dapr remote containers and choose the language container that matches your application. Note you may need to selectShow All Definitions...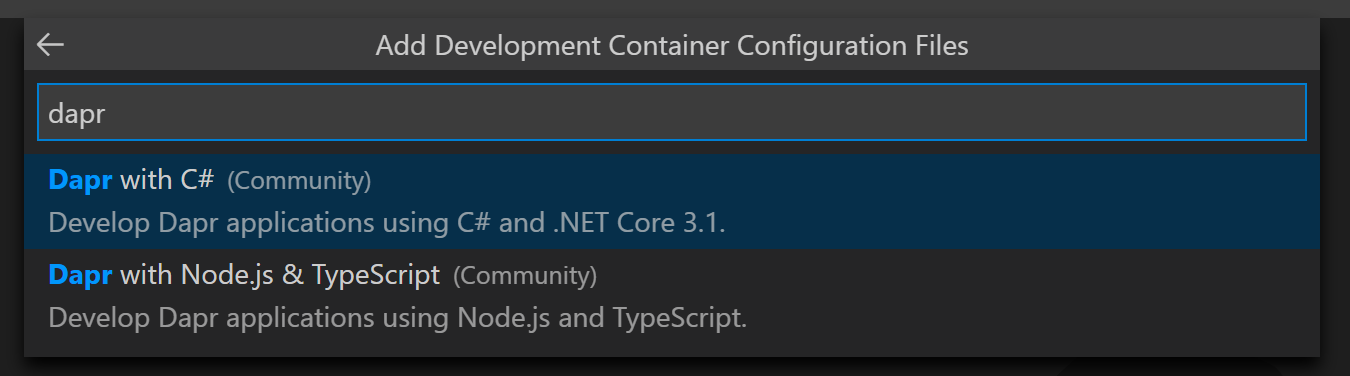
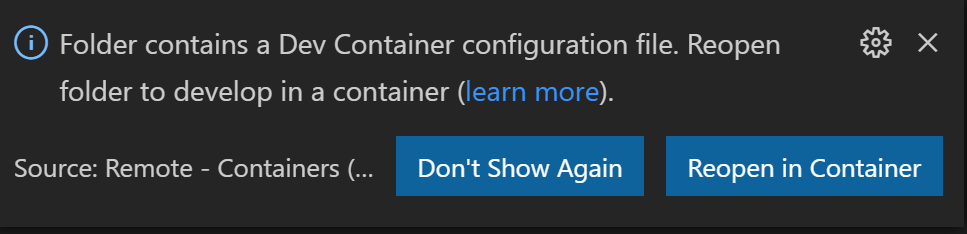
- Follow the prompts to rebuild your application in container.
Example
Watch this video on how to use the Dapr VS Code Remote Containers with your application.
Troubleshooting
Debugging multiple Dapr applications at the same time
Using the VS Code extension you can debug multiple Dapr applications at the same time with Multi-target debugging
Manually configuring Visual Studio Code for debugging with daprd
If instead of using the Dapr VS Code extension you wish to configure a project to use Dapr in the tasks.json and launch.json files these are the manual steps.
When developing Dapr applications, you typically use the dapr cli to start your daprized service similar to this:
dapr run --app-id nodeapp --app-port 3000 --dapr-http-port 3500 app.js
This will generate the components yaml files (if they don’t exist) so that your service can interact with the local redis container. This is great when you are just getting started but what if you want to attach a debugger to your service and step through the code? This is where you can use the dapr runtime (daprd) to help facilitate this.
Note
The dapr runtime (daprd) will not automatically generate the components yaml files for Redis. These will need to be created manually or you will need to run the dapr cli (dapr) once in order to have them created automatically.One approach to attaching the debugger to your service is to first run daprd with the correct arguments from the command line and then launch your code and attach the debugger. While this is a perfectly acceptable solution, it does require a few extra steps and some instruction to developers who might want to clone your repo and hit the “play” button to begin debugging.
Using the tasks.json and launch.json files in Visual Studio Code, you can simplify the process and request that VS Code kick off the daprd process prior to launching the debugger.
Let’s get started!
Modifying launch.json configurations to include a preLaunchTask
In your launch.json file add a preLaunchTask for each configuration that you want daprd launched. The preLaunchTask will reference tasks that you define in your tasks.json file. Here is an example for both Node and .NET Core. Notice the preLaunchTasks referenced: daprd-web and daprd-leaderboard.
{
   "version": "0.2.0",
   "configurations": [
        {
            "type": "node",
            "request": "launch",
            "name": "Node Launch w/Dapr (Web)",
            "preLaunchTask": "daprd-web",
            "program": "${workspaceFolder}/Game/Web/server.js",
            "skipFiles": [
                "<node_internals>/**"
            ]
        },
        {
            "type": "coreclr",
            "request": "launch",
            "name": ".NET Core Launch w/Dapr (LeaderboardService)",
            "preLaunchTask": "daprd-leaderboard",
            "program": "${workspaceFolder}/Game/Services/LeaderboardService/bin/Debug/netcoreapp3.0/LeaderboardService.dll",
            "args": [],
            "cwd": "${workspaceFolder}/Game/Services/LeaderboardService",
            "stopAtEntry": false,
            "serverReadyAction": {
                "action": "openExternally",
                "pattern": "^\\s*Now listening on:\\s+(https?://\\S+)"
            },
            "env": {
                "ASPNETCORE_ENVIRONMENT": "Development"
            },
            "sourceFileMap": {
                "/Views": "${workspaceFolder}/Views"
            }
        }
    ]
}
Adding daprd tasks to tasks.json
You will need to define a task and problem matcher for daprd in your tasks.json file. Here are two examples (both referenced via the preLaunchTask members above). Notice that in the case of the .NET Core daprd task (daprd-leaderboard) there is also a dependsOn member that references the build task to ensure the latest code is being run/debugged. The problemMatcher is used so that VSCode can understand when the daprd process is up and running.
Let’s take a quick look at the args that are being passed to the daprd command.
- -app-id – the id (how you will locate it via service invocation) of your microservice
- -app-port – the port number that your application code is listening on
- -dapr-http-port – the http port for the dapr api
- -dapr-grpc-port – the grpc port for the dapr api
- -placement-host-address – the location of the placement service (this should be running in docker as it was created when you installed dapr and ran
dapr init)
Note: You will need to ensure that you specify different http/grpc (-dapr-http-port and -dapr-grpc-port) ports for each daprd task that you create, otherwise you will run into port conflicts when you attempt to launch the second configuration.
{
    "version": "2.0.0",
    "tasks": [
        {
            "label": "build",
            "command": "dotnet",
            "type": "process",
            "args": [
                "build",
                "${workspaceFolder}/Game/Services/LeaderboardService/LeaderboardService.csproj",
                "/property:GenerateFullPaths=true",
                "/consoleloggerparameters:NoSummary"
            ],
            "problemMatcher": "$msCompile"
        },
        {
            "label": "daprd-web",
            "command": "daprd",
            "args": [
                "-app-id",
                "whac-a-mole--web",
                "-app-port",
                "3000",
                "-dapr-http-port",
                "51000",
                "-dapr-grpc-port",
                "52000",
                "-placement-host-address",
                "localhost:50005"
            ],
            "isBackground": true,
            "problemMatcher": {
                "pattern": [
                    {
                      "regexp": ".",
                      "file": 1,
                      "location": 2,
                      "message": 3
                    }
                ],
                "background": {
                    "beginsPattern": "^.*starting Dapr Runtime.*",
                    "endsPattern": "^.*waiting on port.*"
                }
            }
        },
        {
            "label": "daprd-leaderboard",
            "command": "daprd",
            "args": [
                "-app-id",
                "whac-a-mole--leaderboard",
                "-app-port",
                "5000",
                "-dapr-http-port",
                "51001",
                "-dapr-grpc-port",
                "52001",
                "-placement-host-address",
                "localhost:50005"
            ],
            "isBackground": true,
            "problemMatcher": {
                "pattern": [
                    {
                      "regexp": ".",
                      "file": 1,
                      "location": 2,
                      "message": 3
                    }
                ],
                "background": {
                    "beginsPattern": "^.*starting Dapr Runtime.*",
                    "endsPattern": "^.*waiting on port.*"
                }
            },
            "dependsOn": "build"
        }
    ]
}
Wrapping up
Once you have made the required changes, you should be able to switch to the debug view in VSCode and launch your daprized configurations by clicking the “play” button. If everything was configured correctly, you should see daprd launch in the VSCode terminal window and the debugger should attach to your application (you should see it’s output in the debug window).